Lattice MachXO2 Based FPGA Development Board | | Updated Monday, November 27th 2017, 18:37 |
-- Tiny and cheap, but versatile

Introduction
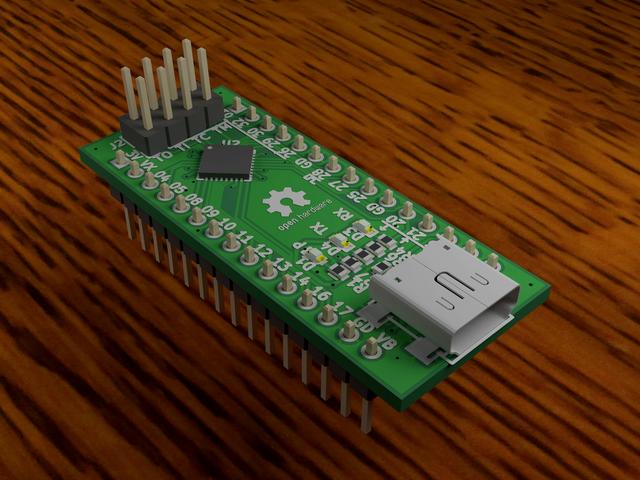
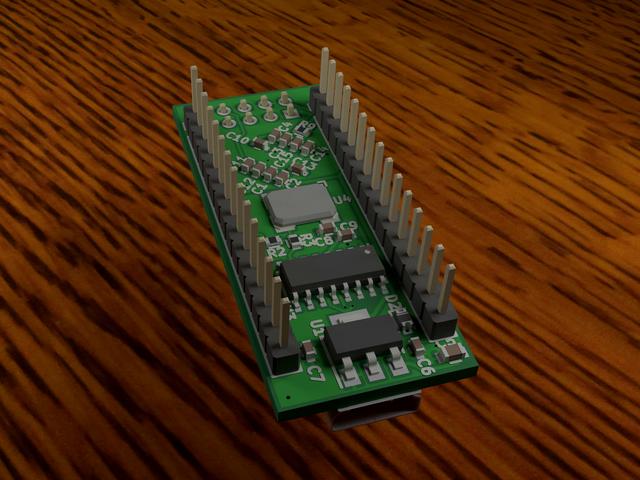
The Tiny-XO2 is a small, versatile and cost-effective development platform for Lattice MachXO2 field-programmable gate arrays (FPGAs). It is built around a MachXO2-1200HC FPGA which features 1280 LUTs, 64 kbits of EBR SRAM and one PLL besides various other features[1]. The development board extends the functionality by providing a USB-to-serial converter and a crystal to allow quick and easy prototyping. All I/O pins are available on the .1 inch headers and labelled directly on the board. Figure 2 provides an overview of all the board's functions.
The board is not commercially available, however, all of the resources required to build your own are available for free. You can find all important links below.
Getting started
Quick links
- Gerbers & Documentation: https://git.notsyncing.net/electronics/tiny-xo2/releases
- KiCad Project Files: https://git.notsyncing.net/electronics/tiny-xo2
- MachXO2 Family Datasheet: http://www.latticesemi.com/...
- Bareboard ready to order: https://www.pcbway.com/...
Overview

- 1: JTAG programming header
- 2: Lattice LCMXO2-1200HC FPGA
- 3: Power LED (Orange)
- 4: UART TX (Board → PC) LED (Red)
- 5: UART RX (PC → Board) LED (Green)
- 6: USB socket for UART and power
- 7: I/O headers
- 8: 12 MHz crystal oscillator for FPGA and USB-to-UART converter
- 9: CH340G USB to UART converter
- 10: 5 V to 3.3 V low-dropout regulator (LDO)
To get started, head on over to the Git repository[2] and download the user manual along with the Gerber files. You can order the PCB from PcbWay[3]. If you want to read some more about the details of the board, refer to the documentation[2].
Get all project source files for KiCad[4] over in the Git-Repository[5].

Notes
Note: Revision 01 of the board is missing the 10+ µF capacitor on the output of the 1117-3.3 voltage regulator (U1). This might cause instability with certain devices. This problem can be easily solved by installing a 10 µF 0805 capacitor right next to C7. Revision 02 addresses this issue.
Apart from this, all features of the board work as expected.
Please note that the board does not have an on-board programmer. You need a Lattice FPGA programmer like the HW-USBN-2B[6] to program the board.
Sources:
[1]: http://www.latticesemi.com/~/media/LatticeSemi/Documents/DataSheets/MachXO23/MachXO2FamilyDataSheet.pdf?document_id=38834
[2]: https://git.notsyncing.net/electronics/tiny-xo2/releases
[3]: https://www.pcbway.com/project/shareproject/Tiny_XO2_FPGA_Development_Board_for_Lattice_MachXO2.html
[4]: http://kicad-pcb.org/
[5]: https://git.notsyncing.net/electronics/tiny-xo2
[6]: http://www.latticesemi.com/Products/DevelopmentBoardsAndKits/ProgrammingCablesforPCs.aspx
