Truenas VM on the Boot Pool | | Saturday, January 8th 2022, 17:18 |
-- I'll probably regret this when I finally lose my data

I've been meaning to transfer my Raspberry Pi based services into a virtual machine on my main server running TrueNAS for a while now, but I've always delayed as I didn't know where to store the VM's disk. I have 7 disks in my main server: 2x 128 GB SSDs as the boot array, 4x 4 TB HDDs as the main array, and another single 4 TB HDD for less important data.
Basically, I don't care where I store the VM, but I want my HDDs to spin down during the night and low load periods. Since a VM will definitely keep the drives up, the mechanical drives are out, leaving me only with the boot pool. It has enough storage for what I need, but, and here comes the problem, TrueNAS does not allow me to keep custom datasets on the boot pool.
But, under the hood, TrueNAS is just FreeBSD. So as I had some time over the holidays, I set out to find a solution to do it nonetheless.
→ UPDATE: There is an updated, much more reliable version of this guide based on editing the database [1]. I strongly recommend to use that instead. ←
WARNING! This guide is definitely not how TrueNAS is intended to be used. It's dirty and terrible. If you brick your installation (even if you followed this guide perfectly), or even worse, lose your VMs and data, don't tell me I didn't warn you. Only do this if you can live with losing everything and having to reconfigure your entire system.
Disregarding the jank-ness of it all, it's pretty simple to do. There's just a few shell commands and a small limitation on how to start the VM.
Alright, so, you've decided you're crazy enough to try this. Here's what you need to do.
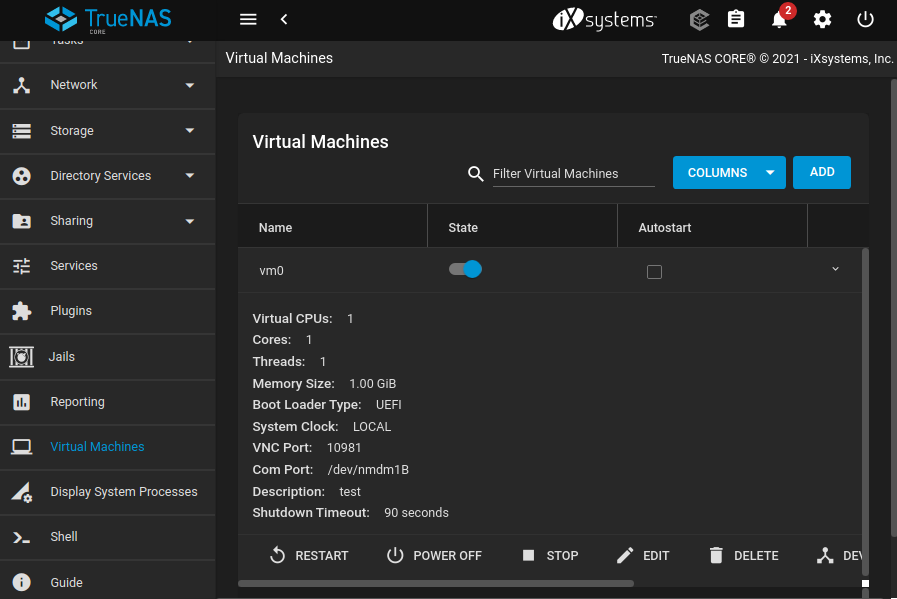
1. Create the VM in the web interface as desired, but with a dummy disk (we won't be using it, but you have to specify something). Start and stop it once to sync all configs. Following, I'll call it "vm0".
2. Create the virtual disk on the boot pool. Connect via SSH and run the following command, replacing the size and the name at the end:
zfs create -V 16G freenas-boot/ROOT/vm0-disk0The disk will now appear in the Web UI under System->Boot. Make sure to set the "keep" flag to yes.
3. Edit the VM config file. Via SSH, enter
virsh list --all # To get the VM name
virsh edit 1_vm0
This opens VI. Move down to the disk block and edit the source file entry to point to your manually created disk:
<source file='/dev/zvol/freenas-boot/ROOT/vm0-disk0'/>Then, close out of VI using ":wq".
4. Run the VM. Sadly, you cannot start the VM from the Web UI as this will overwrite the changes you made using virsh. Therefore, you have to start the VM also using virsh:
virsh start 1_vm0
5. Enjoy! From this point on, you can use the Web GUI with all features (VNC, ...) as usual. If you restart your TrueNAS instance, or use the Web UI to change the configuration of the system, you might have to redo the edit step as TrueNAS will keep correcting the "faulty" libvirt config.
Some more closing warnings. I have not extensively tested whether this has any negative effects nor do I understand the intricacies of the TrueNAS boot pool and the restrictions that are (probably rightfully so!) placed on it. I cannot guarantee that this setup will survive TrueNAS updates, or that TrueNAS won't at some point just nuke the zvol right from the drive because it thinks it's garbage. Still, I hope this information proves useful to some of you.
Sources:
[1]: https://notsyncing.net/?p=blog&b=2024.truenas-vm-on-boot-pool-db-edit
