Truenas VM on the Boot Pool by Editing the Database | | Sunday, May 26th 2024, 13:24 |
-- Now with 20% less chances of losing your data!

Two years ago [1], I wrote about running your TrueNAS VMs from the boot pool by manually updating the virsh configuration. The problem here, however, was that you had to repeat these steps each time you rebooted the VM as TrueNAS would reset the configuration. Also, it wasn't 100% reliable and the commands might need a few attempts to work.
Since then, two of my readers, John and Michael, reached out to me to tell me about a better solution they both (independently) discovered: Editing the TrueNAS database instead of manipulating the virsh service configuration.
WARNING! Just as last time, this guide is definitely not how TrueNAS is intended to be used. It may be better than my last approach, but it's still dirty. You may brick your installation (even if you followed this guide perfectly), or even worse, lose your VMs and data. Only do this if you can live with losing everything and having to reconfigure your entire system.
So let's get started! The key to manually changing configuration entries in TrueNAS is to access the SQLite database for TrueNAS, which is stored in
/data/freenas-v1.db. Lucky for us, TrueNAS ships the SQLite command line client, so we can just connect to our server as root and use the sqlite3 command to get everything done without any extra tools.
To update your VM, follow these simple steps:
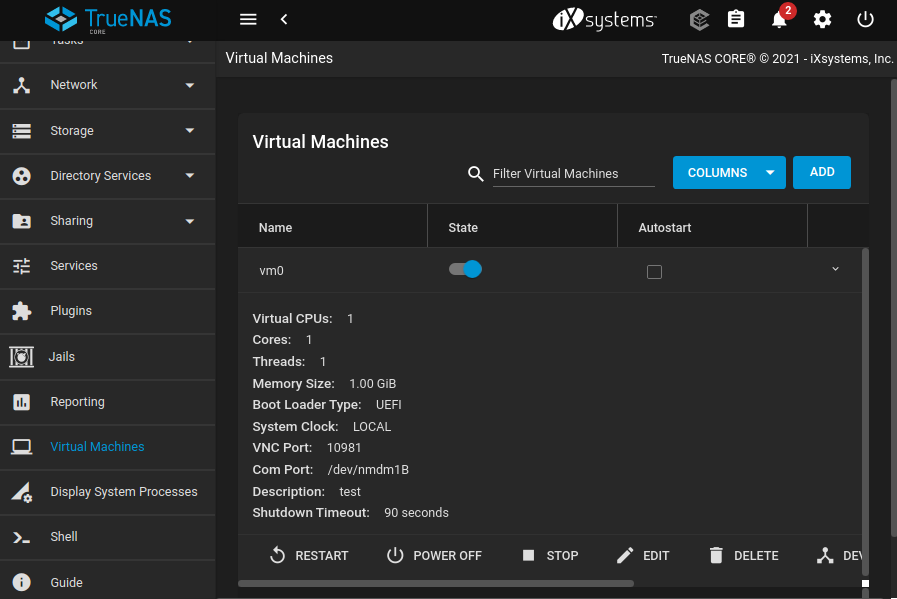
1. Create the VM in the web interface as desired, including the system disk. If you already have an existing VM, that's also fine, we can migrate it. Following, I'll call it "vm0".
2. Migrate the data to the boot pool. Make sure the VM is powered off, then use the following command to retrieve the name of the source volume and destination pool:
zfs listThen, use the following command (change the volume names to the ones retrieved above) to move the ZFS volume.
zfs snapshot original-pool/vm0-disk@migrate
zfs send -v original-pool/vm0-disk@migrate | zfs recv freenas-boot/ROOT/vm0-disk
The disk will now appear in the Web UI under System->Boot. Make sure to set the "keep" flag to yes.
3. Edit the VM configuration in the database. Via SSH as root, open the database and view the relevant entries using select:
% sqlite3 /data/freenas-v1.db
sqlite> select * from vm_device where dtype="DISK";
18|DISK|{"path": "/dev/zvol/original-pool/vm0-disk", "type": "AHCI", "physical_sectorsize": null, "logical_sectorsize": null}|1|1001
Now, replace the path to the old zfs volume with the new one:
sqlite> update vm_device set attributes = replace(attributes,'/dev/zvol/original-pool/vm0-disk','/dev/zvol/freenas-boot/ROOT/vm0-disk');You can use the select command from above to verify the change applied:
sqlite> select * from vm_device where dtype="DISK";
18|DISK|{"path": "/dev/zvol/freenas-boot/ROOT/vm0-disk", "type": "AHCI", "physical_sectorsize": null, "logical_sectorsize": null}|1|1001
4. Run the VM and enjoy. You can now start the VM normally through the Web UI and everything should work as usual.
Again, big thanks to my John and Michael for suggesting this solution! I'm always happy to hear your thoughts and suggestions.
Sources:
[1]: https://notsyncing.net/?p=blog&b=2022.truenas-vm-on-freenas-boot
